Easy DIY Bow Barrette
For an easy no sew DIY for a beginner, or a cheap, easy gift or stocking stuffer, or group activity, here’s how to create this tulle bow hair clip!
For a video tutorial, follow this link to Instagram.
I saw some super cute bows at Target while doing some shopping and was baffled to see that were charging $8.00 per bow. Since I spend so much time in fabric and craft stores, I knew that you could DIY then much cheaper. I made it a mission to see how many I could make for $8.00. I made 7 for $8.50! So don’t buy the Target ones, and make your own instead!
Supplies:
1/2 yard of tulle fabric (you can use 1/4 yard for a thinner bow, or up to a full yard for a denser bow)
Glue (I used hot glue for this, but you can use your favorite)
Hair barrettes (you can use the brand you like, or buy in bulk from the craft store)
Optional embellishments like beads, rhinestones, ribbons or sequins.
Steps:
Fold your tulle fabric in half long ways twice so that it turns in to a long strand of tulle.
Take each raw end of the tulle and match them together so that you have your strand folded in half with a loop at one end a the raw edges at the other.
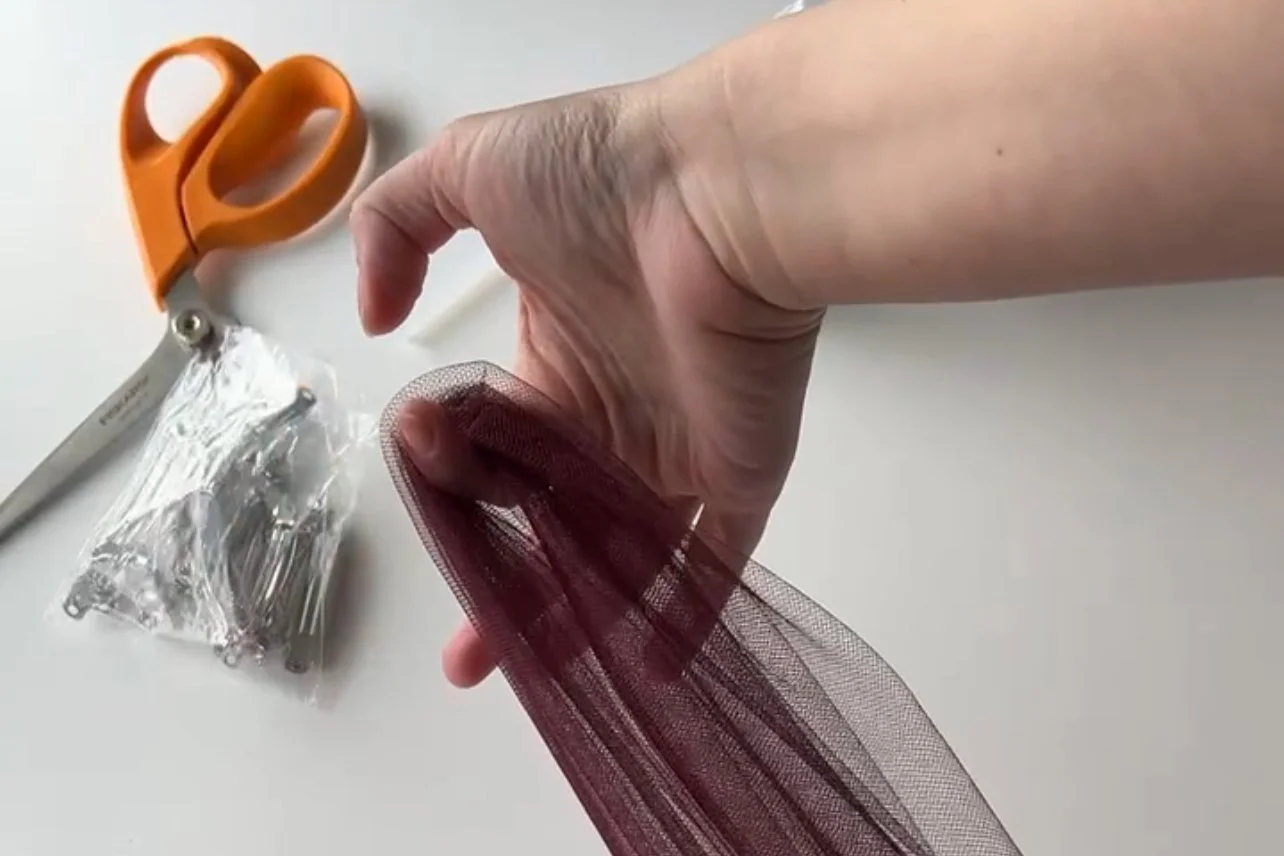
tulle looped in half with one loop at the end.
Make two loops near the center of the folded tulle strand (like two bunny ears).
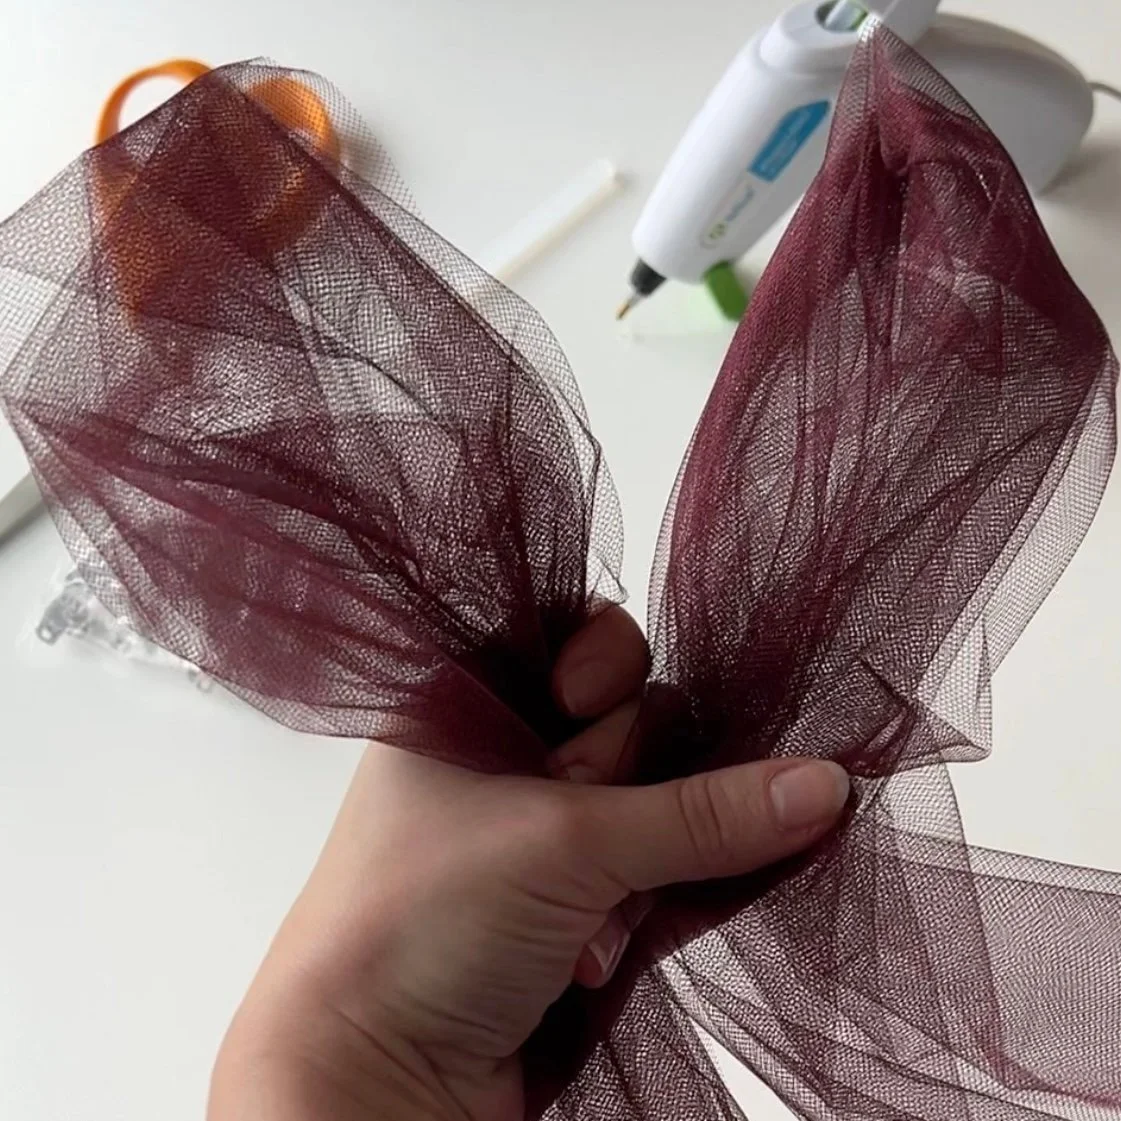
two bunny ears in the center of the tulle
Looping the loops around, as you would if you were tying shoe laces, tie the loops into a bow. (Here’s where the video might be really helpful— VIDEO)
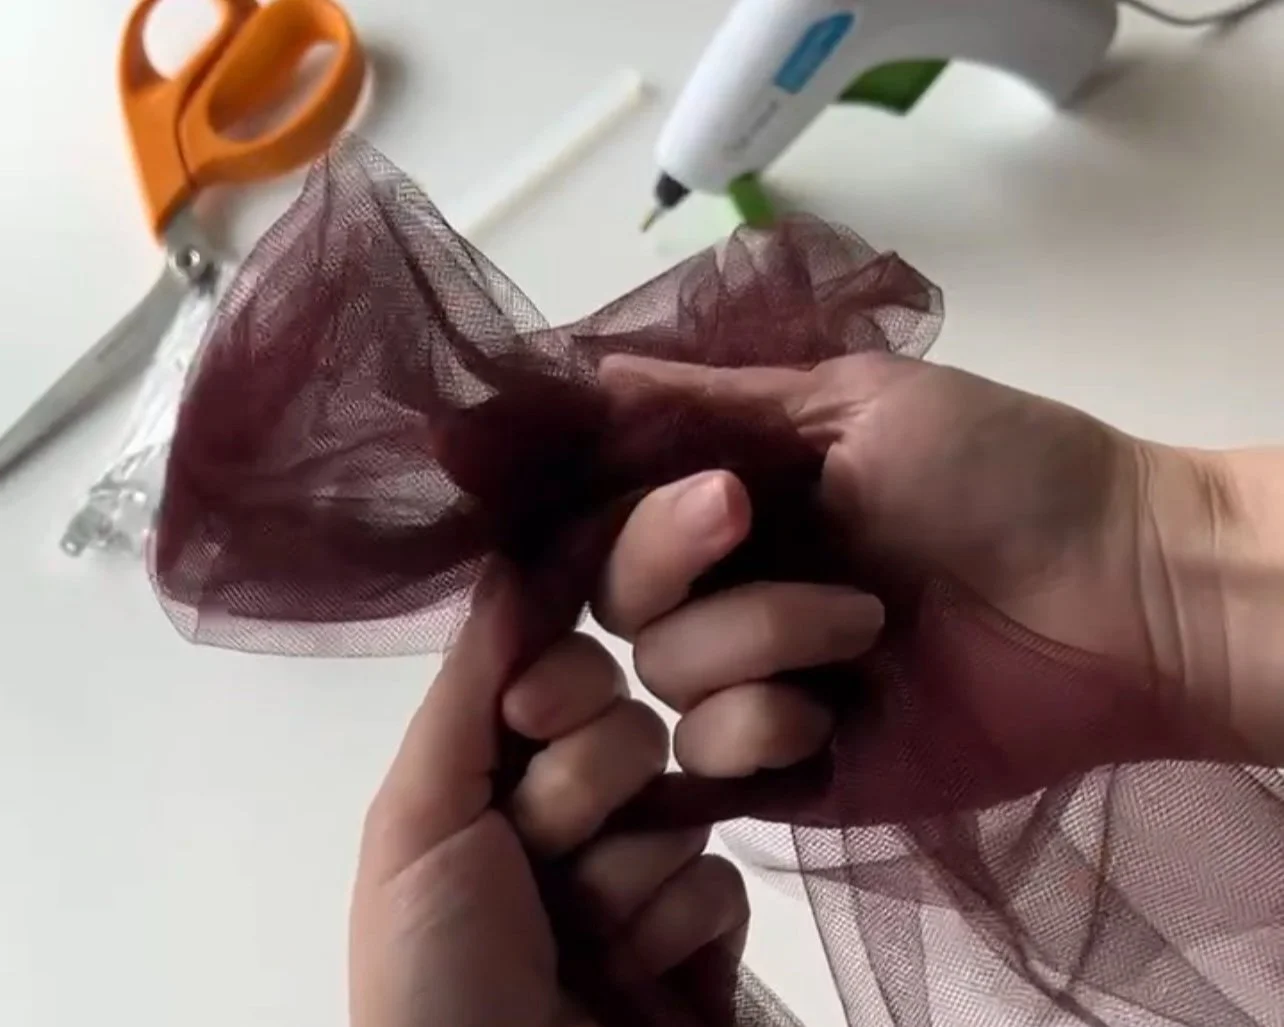
Tying the bow
Even out the two loops on the bow to make sure they are the length you want them and so that the loops match. Fluff the bow.
If you want your bow loops to fall downward on the barette, for a “droopier” effect, gather the loops and the ends together in your hand so that the knot is sticking out of the top of your hand and the rest of the material in your hand and below. You can skip this step if you want your bow to be more full or “poofy”.
Apply the glue to the barrette.
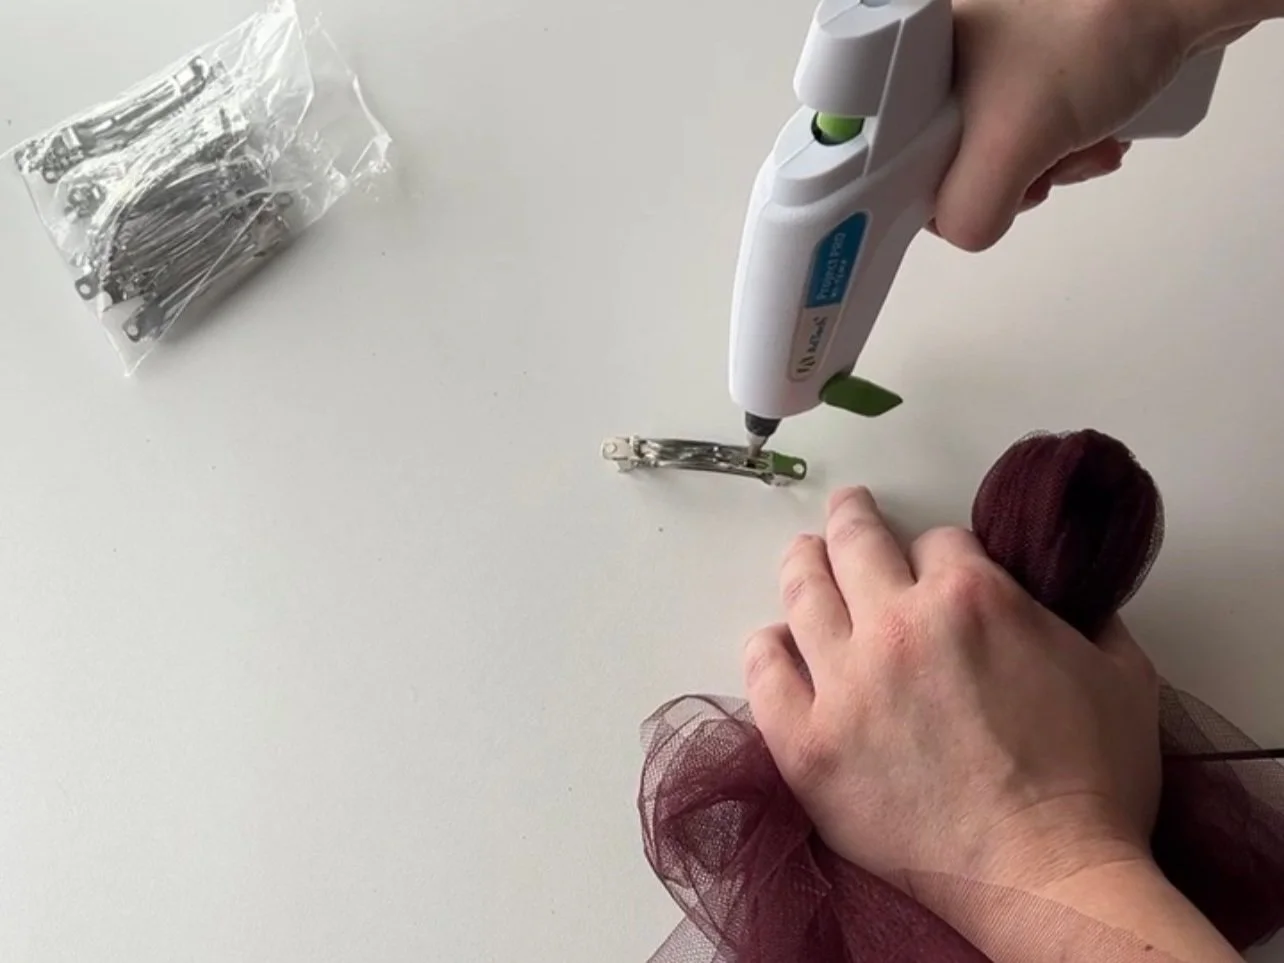
Holding the tulle in one hand so the knot is at the top and the rest is underneath.
Apply glue to the barrette.
Take the barrette and place it to the back of the knot. Hold for a minute so the glue can cure or cool.
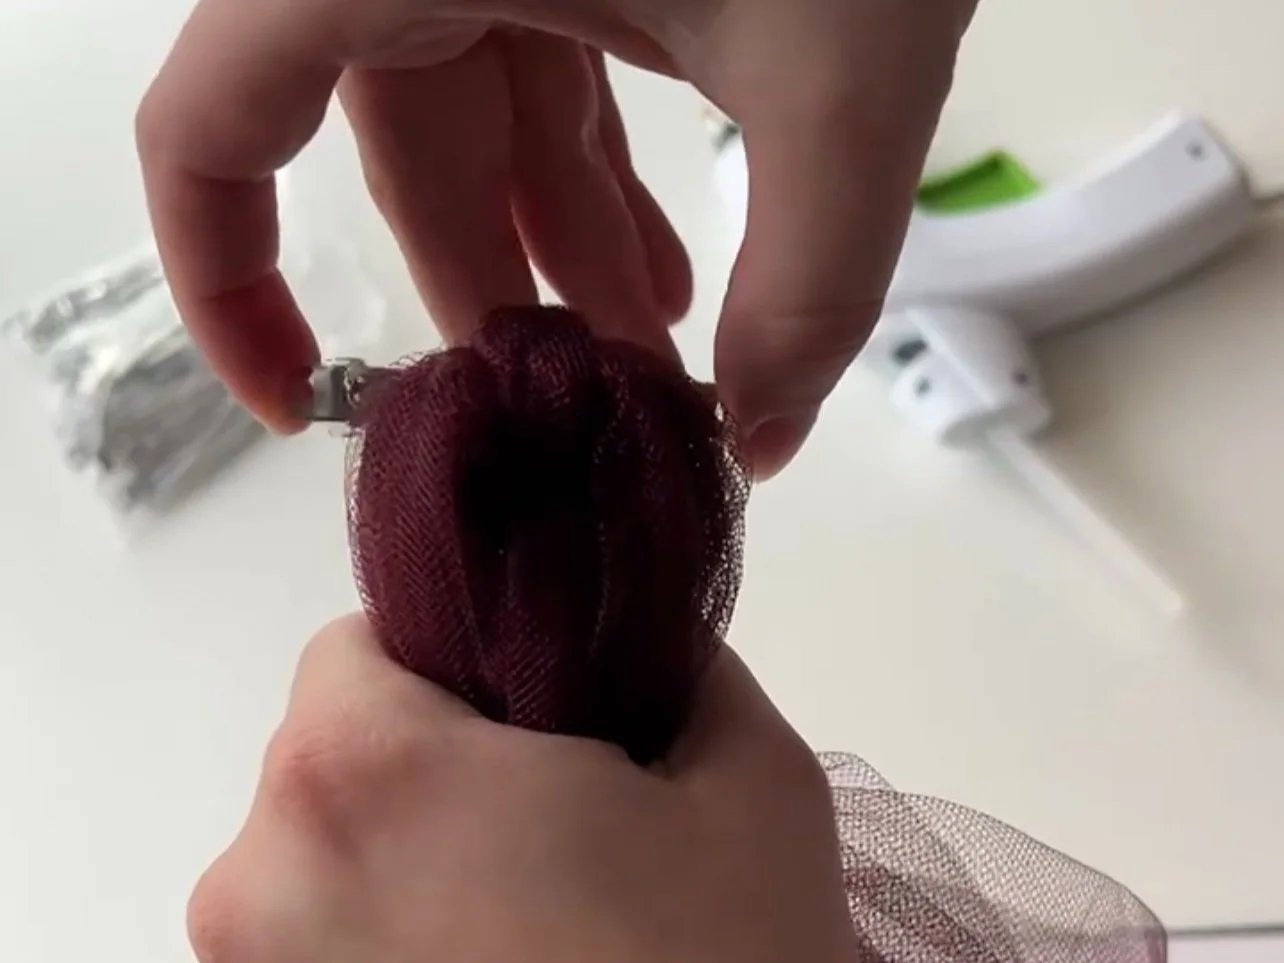
Place the glued barrette on the back of the knot.
Hold it for a minute so the glue can cool or cure.
Fluff the bow some more so it holds the shape you want. Trim the tulle so that the length is even.
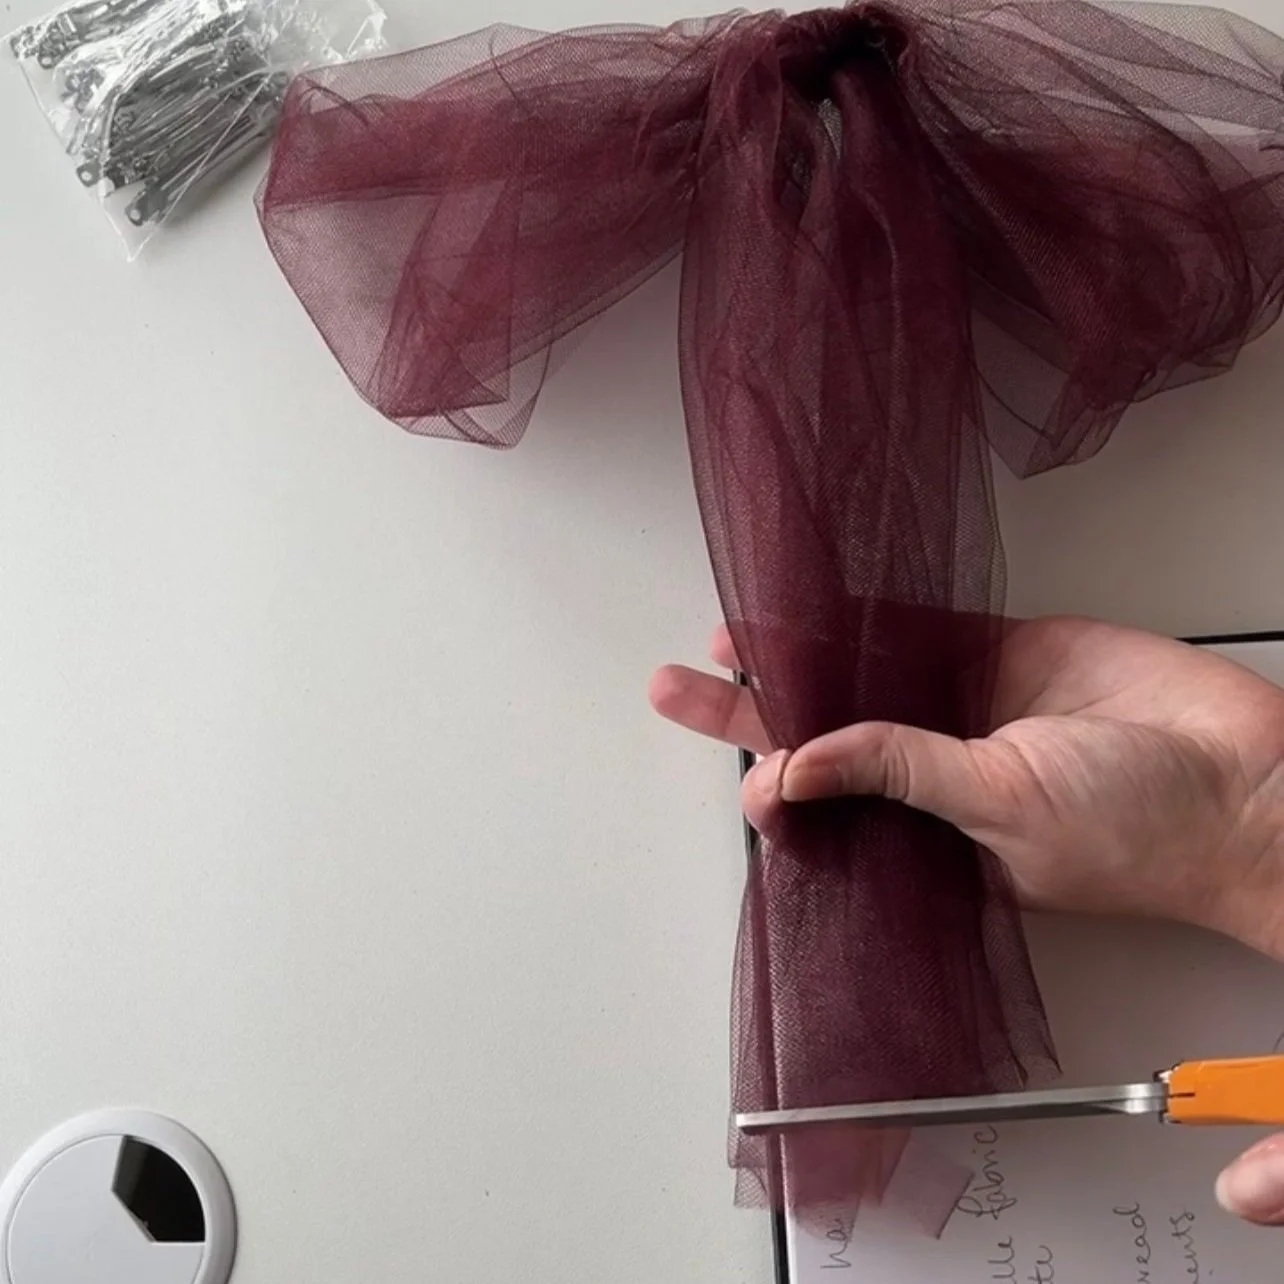
Trim the excess length so the strands are even.
Add whatever embellishments you want to your bow. (You can use that same glue— no sewing required!)
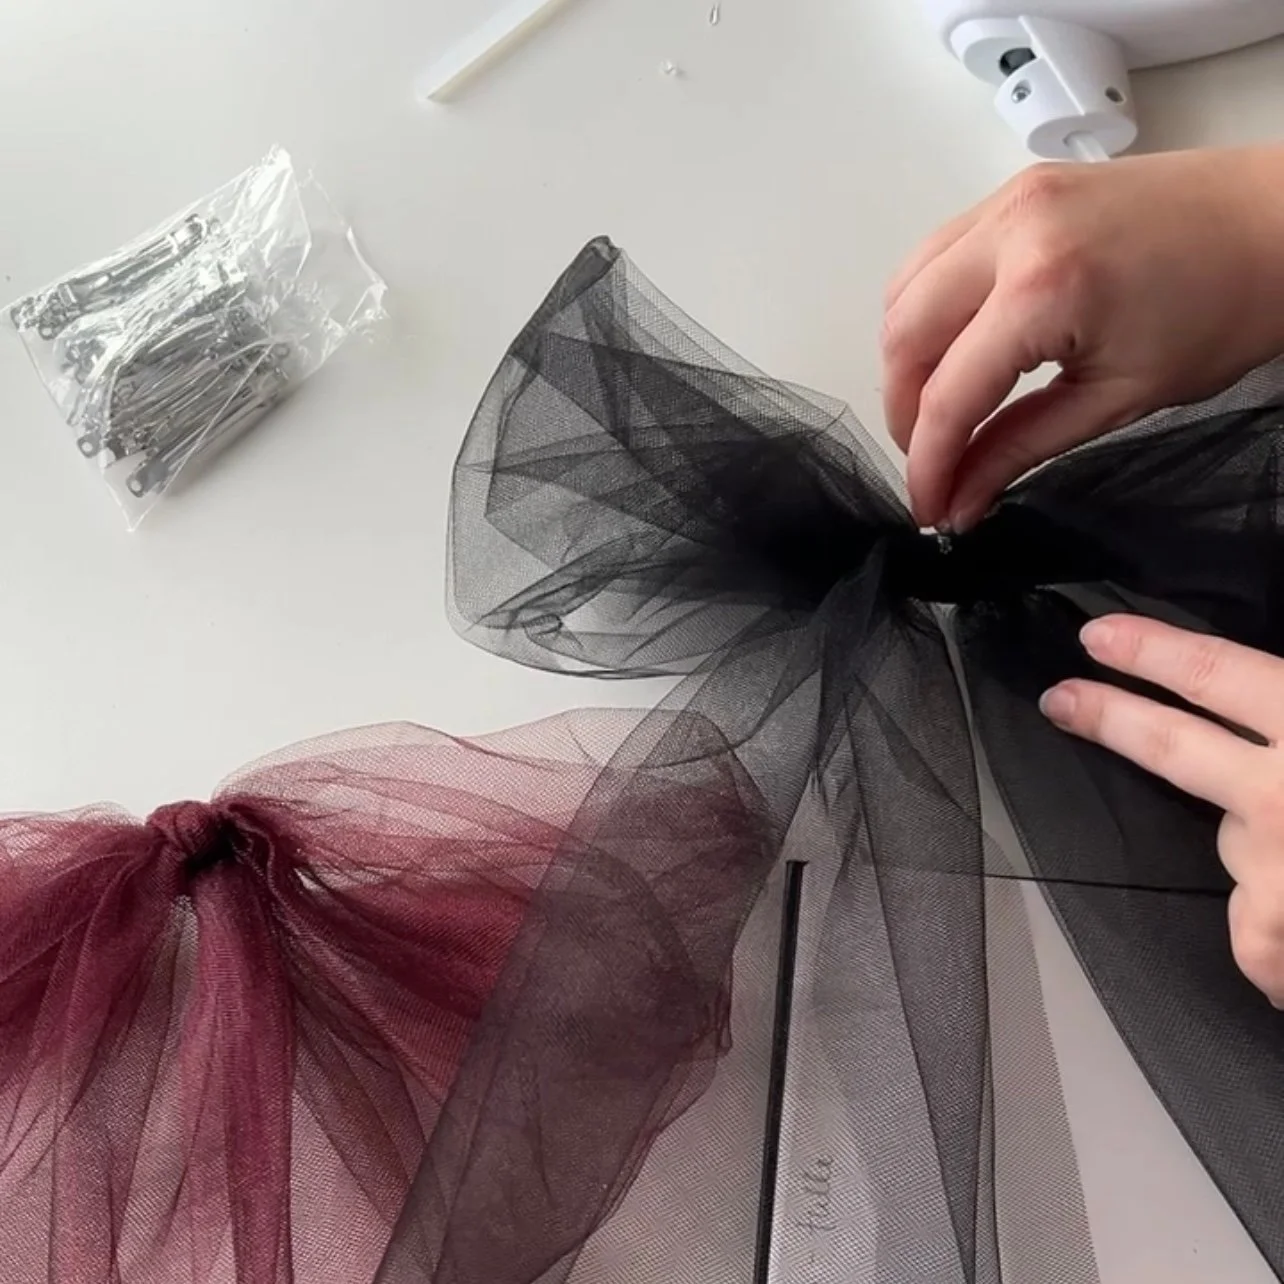
Add embellishments with the same glue.
I chose pearls!
And you’re done! That’s it! No need to spend $8 when you can do it yourself for a fraction of the price!
If you have comments or questions, please comment below! Or tag me in any pics of your bows! I can’t wait to see them!
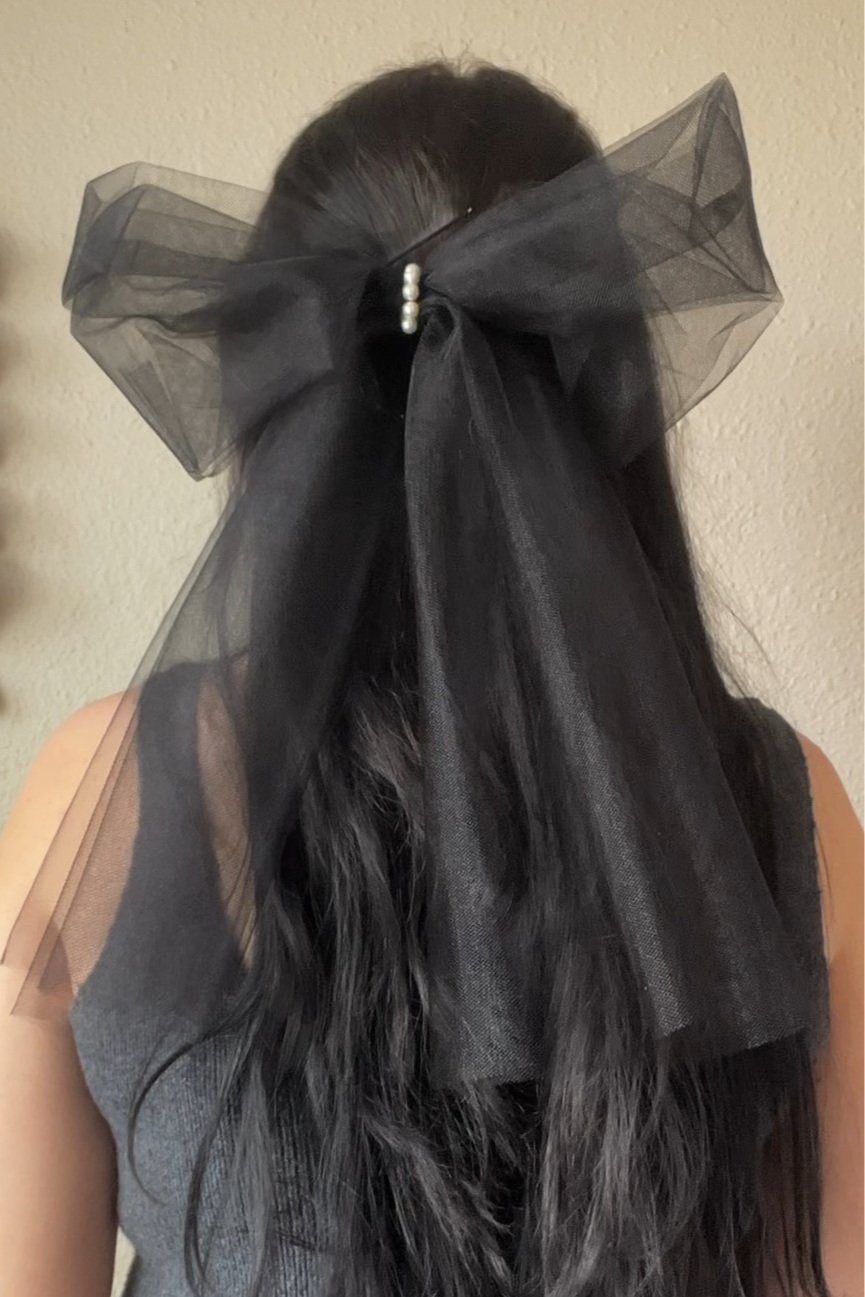
All done!